

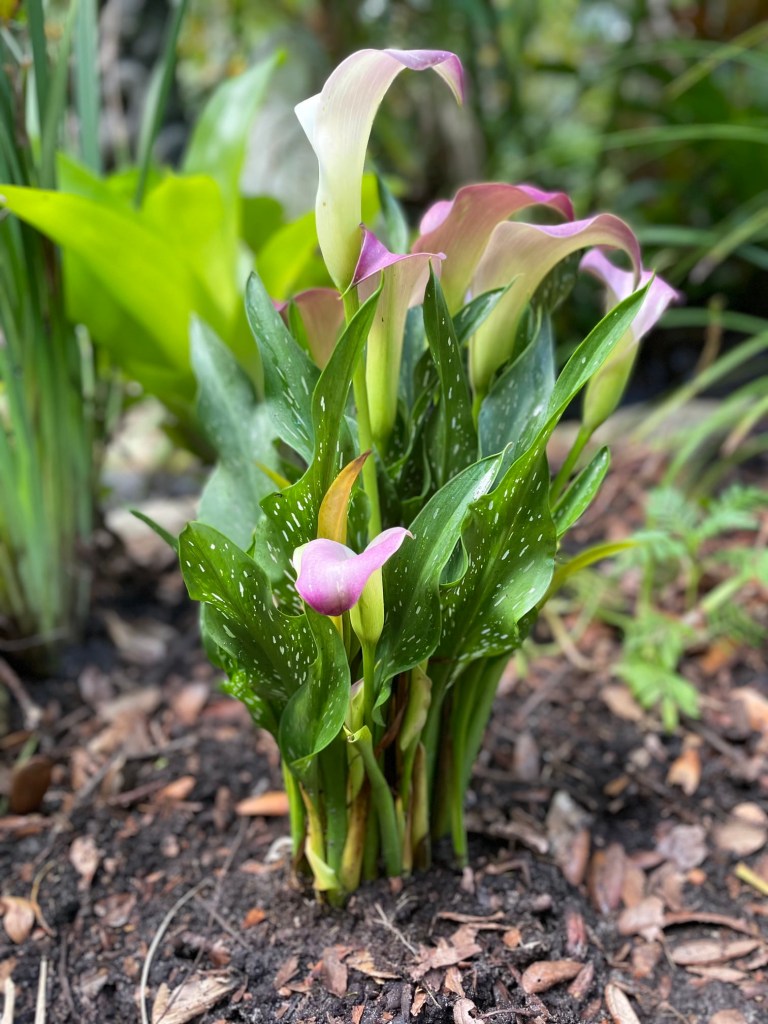
I try and pick up a new plant every other grocery trip and on my last Publix run I took home a beautiful potted pink Calla lily. I’ve been trying to add more flowers and color to our yard, and Calla lilies are known to spread.
They’re even considered invasive in some areas. I honestly wouldn’t mind if they invaded more of the yard, as they are way prettier than the ferns that are trying to take over.
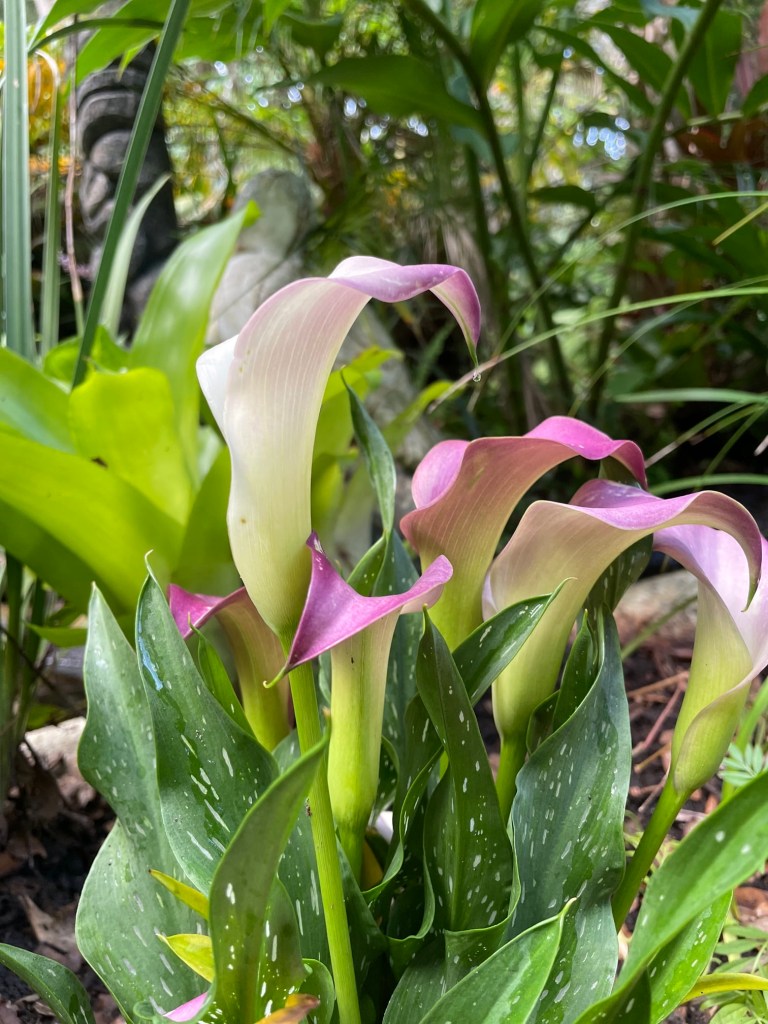
If you’re looking to add a touch of sophistication and natural beauty to your garden or home, look no further than the exquisite Calla lily. With its striking form and symbolic significance, this flower is a favorite among gardeners and enthusiasts.
In this guide, we’ll take you through the process of planting and caring for Calla lilies, ensuring that these graceful blooms thrive and enchant for years to come.
Planting Calla Lilies
Selecting a Location: Choose a planting location that receives partial to full sunlight. Calla lilies flourish in well-draining soil and prefer slightly acidic to neutral pH levels. Ensure the chosen spot offers protection from strong winds, which can damage the delicate blossoms.
I may have not picked a good spot for mine because it tends to be a bit wet due to run-off from our pond fountain. I’m going to leave it and see what happens though!
Planting Depth and Spacing: Plant Calla lily bulbs (rhizomes) about 2 to 4 inches deep, with the pointed end facing upwards. Space the bulbs at least 12 to 18 inches apart to allow for proper growth and airflow.
(Or just pick up a full grown plant like I did)
Soil Preparation: Before planting, amend the soil with organic matter like compost to enhance drainage and provide nutrients. Loose and fertile soil will encourage robust growth and vibrant blooms.
Caring for Calla Lilies
Watering: Keep the soil consistently moist but not waterlogged. Calla lilies appreciate regular watering, especially during their growing season, which typically spans from spring to early autumn. Reduce watering as the plant enters dormancy in winter.
Fertilizing: Apply a balanced, water-soluble fertilizer every 4 to 6 weeks during the growing season. Avoid over-fertilizing, as this can lead to excessive foliage growth at the expense of flower production.
Mulching: Apply a layer of mulch around the base of the plants to help retain soil moisture, regulate temperature, and inhibit weed growth. However, avoid piling mulch directly against the stems, as this can lead to rot.
Support: Tall Calla lily varieties may require support to prevent bending or breaking of the stems, especially during heavy rain or wind. Use stakes or plant supports to keep the plants upright.
Pruning: After the blooming period, you can trim off spent flowers and yellowing leaves. However, avoid cutting back the foliage until it naturally turns brown, as the plant continues to gather energy from the leaves.
Overwintering Calla Lilies
As winter approaches, Calla lilies may enter a period of dormancy. Follow these steps to ensure their survival through the colder months:
- Reduce Watering: As the plant’s growth slows, gradually reduce watering to allow the soil to dry out slightly between waterings.
- Dig Up Bulbs: In colder climates, dig up the bulbs before the first frost. Gently remove excess soil and store the bulbs in a cool, dry place. You can replant them in the following spring.
Conclusion
Cultivating the elegance of Calla lilies requires attention to detail and a touch of patience. With proper planting, care, and a bit of love, these alluring flowers will reward you with their stunning beauty and timeless grace season after season. Whether adorning a garden bed or gracing a vase indoors, Calla lilies truly are a testament to the splendor of nature.
Discover more from Keane & Coastal
Subscribe to get the latest posts sent to your email.

One thought on “Cultivating Elegance: Planting and Caring for Calla Lilies”